The Domains page allows you to create and manage custom domains connected to your account in the znanja LMS.
There are two types of domains that can be created: platform subdomains, and custom domains.
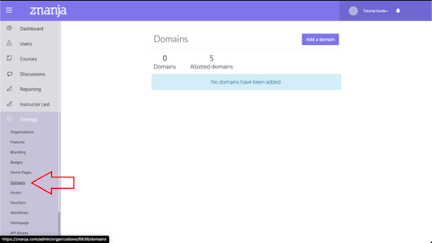
To access domain settings, click Settings then Domains:
How to Create a Platform Subdomain
A platform subdomain allows you to create a unique URL using one of znanja’s domains.
|
1. |
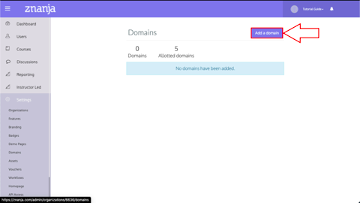
On the Domains page, click Add a Domain:
|
|
2. |
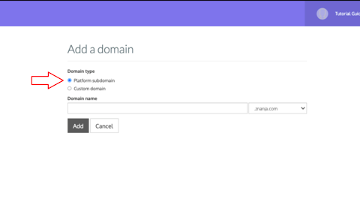
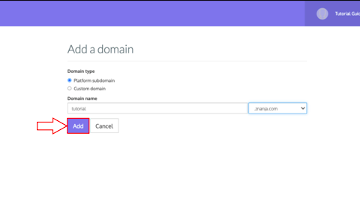
Make sure the platform subdomain option is selected:
|
|
3. |
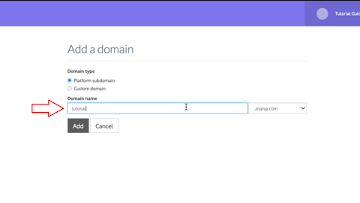
Type in the name of the subdomain in the field:
|
|
4. |
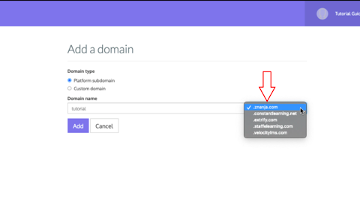
Now, select a domain using the dropdown menu:
The options are:
|
|
5. |
Finally, click Add:
|
|
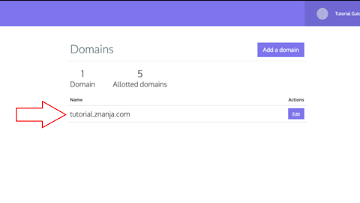
6. |
The subdomain will be added to the list on the Domains page:
The subdomain will now be active. Users can access your LMS login page directly using this link. |
|
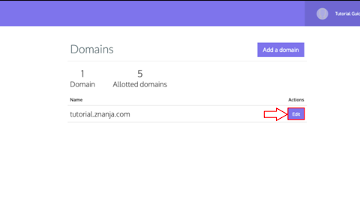
7. |
You can edit or delete the subdomain by clicking Edit:
|
How to Create a Custom Domain
A custom domain allows you to connect the znanja LMS to your own domain. This option is for users who own their own domain.
Note: Custom Domains must first be activated by znanja to be used.
|
1. |
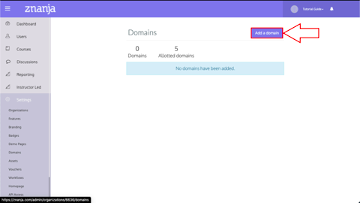
On the Domains page, click Add a Domain:
|
|
2. |
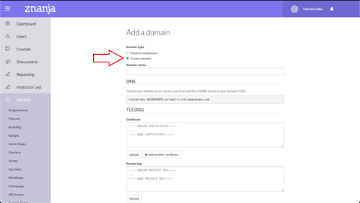
Make sure the Custom Domain option is selected:
|
|
3. |
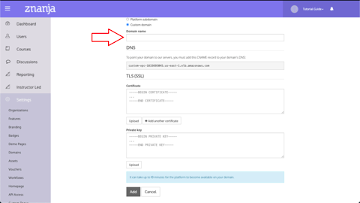
First, enter the name of your domain:
|
|
4. |
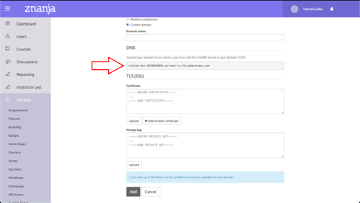
Under the DNS heading, you will find an important link that must be used to point your domain to our servers. Be sure to read the instructions carefully:
This link is a CNAME record that must be added to your domain’s DNS to point it to our servers. |
|
5. |
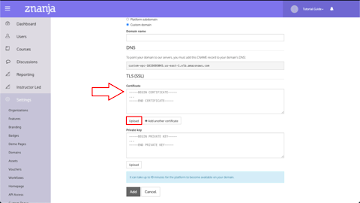
Now, type or upload the TSL (or SSL) certificate for your domain:
|
|
6. |
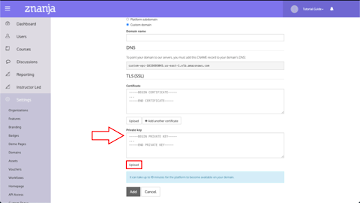
Then, type or upload the private key for your domain:
|
|
7. |
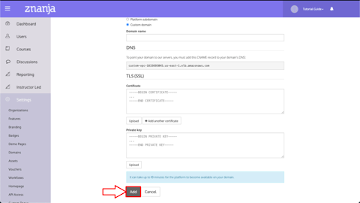
When you are done, click Add:
It may take up to 10 minutes for a custom domain to be set up. Once the domain is active, users can access your LMS login page directly using your domain. |
|
8. |
The new domain will be added to the list on the Domains page. To edit the domain, click Edit. |